
Why would you put lace on old kitchen cupboards?
How to DIY a kitchen cupboard for bedroom storage by covering it with lace. Lace adds texture to your room, and it hides the flaws that your used cupboards have acquired over the years.
The things you need for this project are in the picture below.
Staples, A stapler (Staple gun), Screwdriver, Putty, Putty Knife, Paint, sandpaper, Cleaner, Washcloth, Scissors, and Lace with holes.

You may also need a drill and an electric screwdriver if you want to move the door handle from its current place on the door, or use a new door handle that has different dimensions.
If you opt to use the old door handle and leave it in the same place you won’t need any power tools.


Start by cleaning the cupboard
Used kitchen cabinets are often rather dirty.
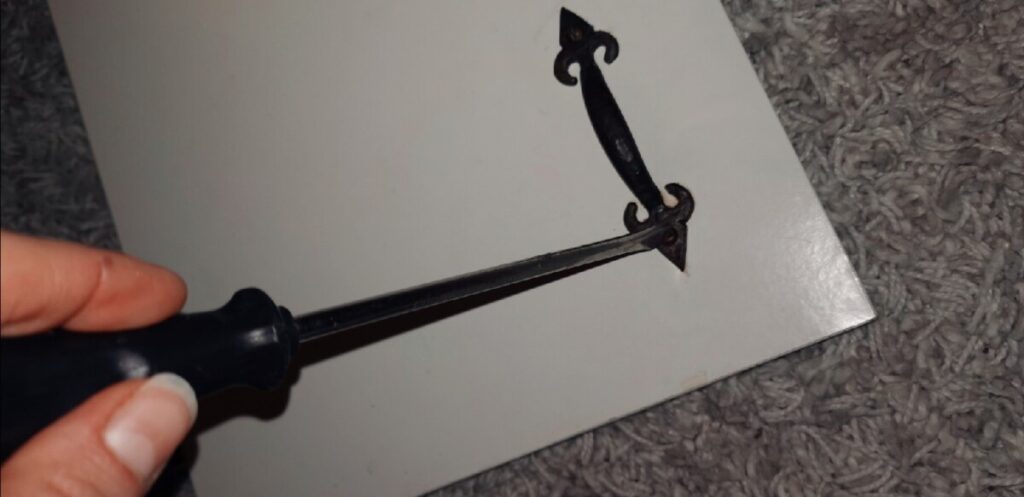
Remove the door handle.
If it’s in the wrong place you will need to putty the holes.
The type of handle or knob you use will determine what you do next.
Before you continue check if you need to drill holes for the handle!
- If you want to move the door handle and you have a new handle that attaches by screwing through the door handle on the front of the door
(This does not require screws that go all the way through the door.) then you can wait to put the handle on till the end and you do not need to drill holes in advance.
- If you have a handle that requires you to poke the screws in from the back side of the door and screw directly into the handle, or a handle that goes all the way through the door and bolts on the back, then you need to drill new holes for the handle before covering the cabinet with lace.

There may be dirt or rust under the door handle.
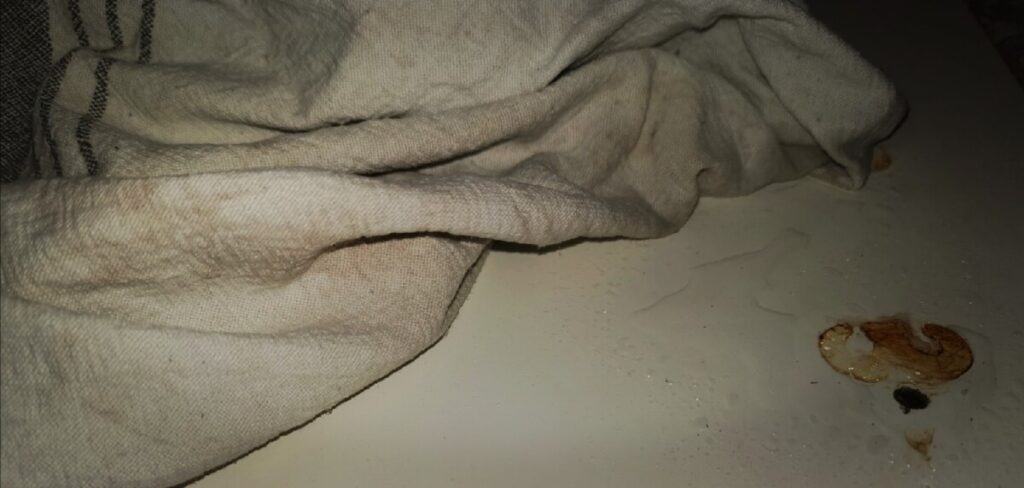
Try removing the dirt and rust with a cleaner.
If you can’t get the rust off you’ll need to either paint over it with a paint that can be applied directly to rust or sand it off before painting.
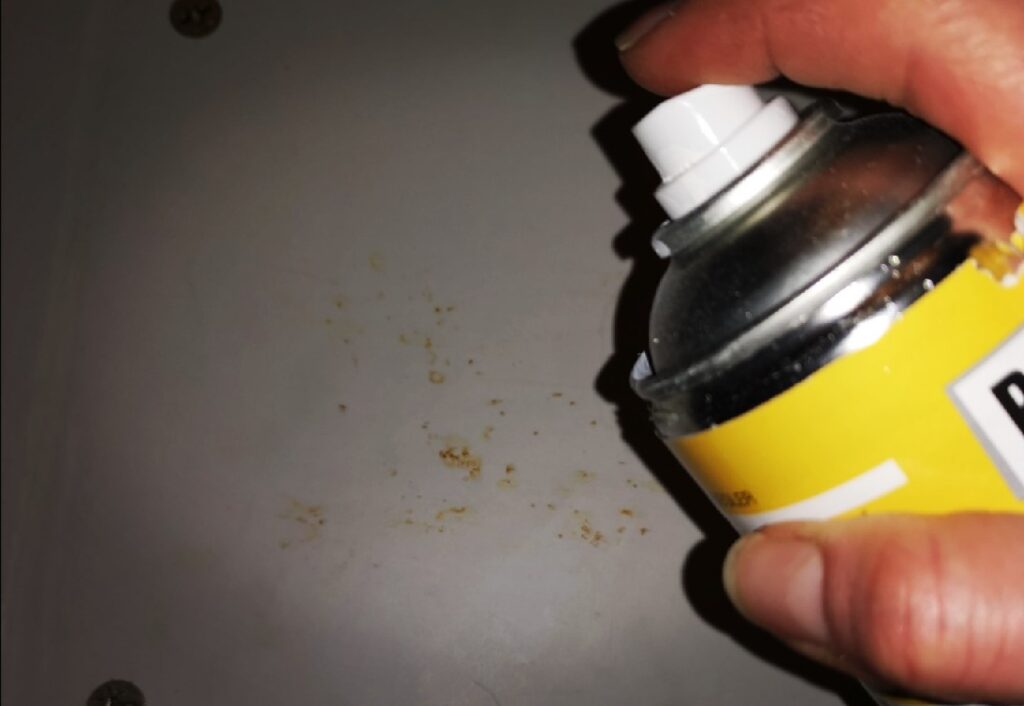
Paint your cupboard
I chose to use spray paint that you can apply directly to rust. The cupboard I used had been out in the shed with rusty nails on top so I had more than one rust spot to take care of.
I sprayed only the rusty areas first. These need more coats of paint.
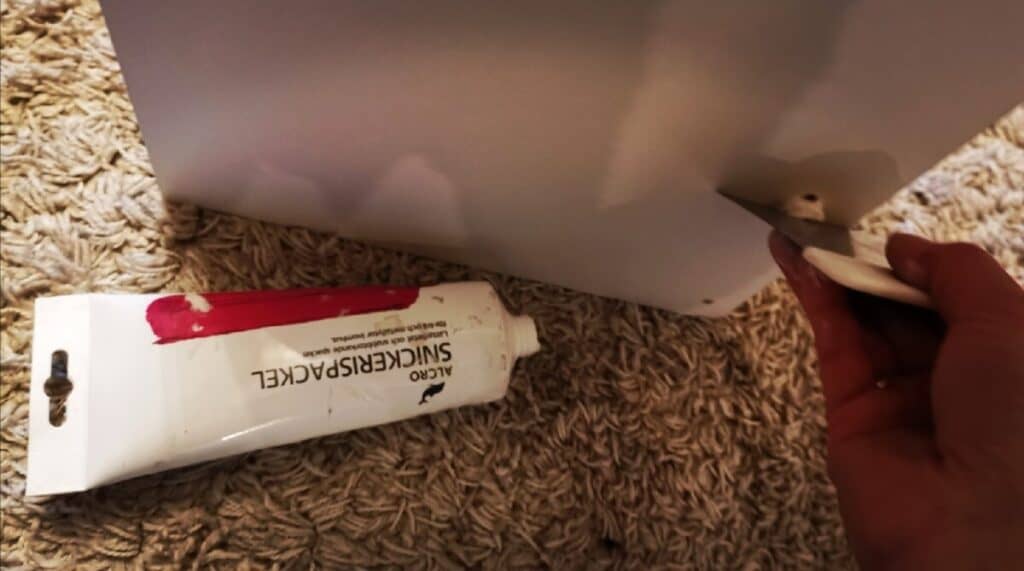
Putty any holes
If your cabinet has holes or if you want to move the handle then you will need need to putty.
If your cabinet is in good shape pick a putty color that matches. If you need to paint the whole cabinet it’s best to putty first and paint over it when it’s dry.
Putty the holes and try to make the surface as flat as possible. The putty may contract when dry and leave an indention that needs to be puttied again. This depends on how big the hole is and what kind of putty you have.
Prep the surface for painting
When the putty is dry lightly rub the top with sandpaper before painting.

Paint a second coat
Paint the whole cupboard this time.
You may need to paint a third time depending on how well the paint covers the rust and putty.

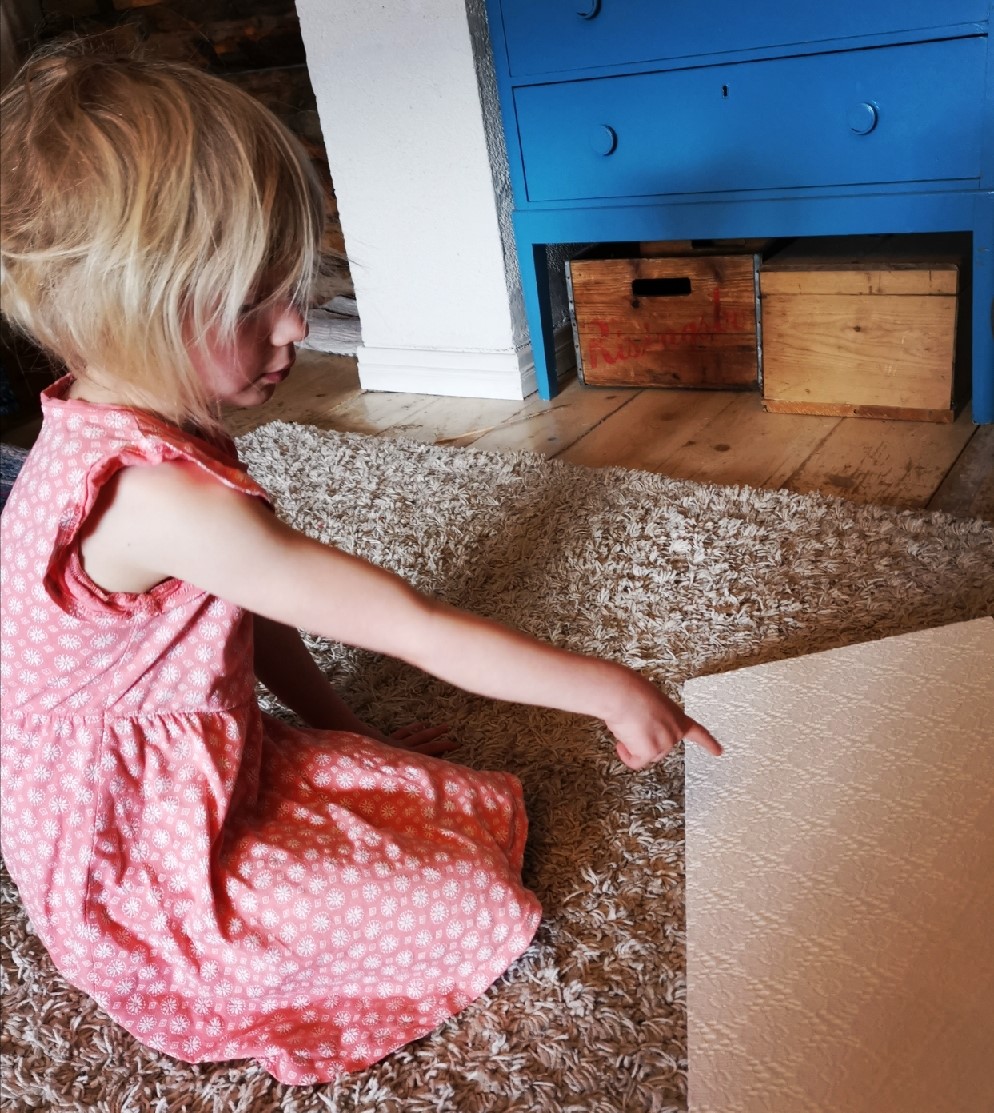
Determine how the lace will sit on the door
When the door is dry, lay the lace over the door.
If the lace has several different patterns decide what looks best and where to cut.

Cut the lace
Leave approximately 2.5 inches (6.3 cm) extra lace on all sides of the door. Some wrinkles are ok. I did not iron the lace in the picture.
The wrinkles disappear when you pull on the lace before stapling.

Stapling the first side
- Start on the longest side of the door.
- Fold the edge of the lace over if it’s a lace that will unravel.
- Start stapling in the middle of the door. It’s common to make the mistake of stapling from one corner to the other.
If you start in the middle it’s easier to stretch and adjust the material as needed.
- Start by putting one staple in the middle and working your way towards each edge.
- Pull the fabric gently inwards and away from the first staple as you continue stapling.

Stapling the second side
- On the opposite side of the door pull gently to stretch the lace and put one staple in the middle.
- Repeat the process of stapling, but pull a little bit harder.
- Don’t bother to tuck the end of the lace under yet. The material will be tighter if you save that for later.

This is what it should look like when both sides are stapled.
What to do if your staples stick up
If your staples stick up (this will depend on what the door is made of) you will need to hammer them in.

Hammering
Pound all the staples in. Try to hit them straight so you can hammer them all the way in.
If you happen to bend one it’s not the end of the world just bend it to the side and hammer it down so it doesn’t stick up.

Cut around the hinges.

Tuck the lace that is sticking up under.

Staple the lace down.

Adding an extra row of staples
The side of the door that you stapled last will have a double row of staples.
You can add a double row of staples to the other side although this is only necessary if the material looks like it’s pulling on the first staples. In that case, try to staple a new row in between the first staples.

Cut off a bit of lace in the corners.

The corners should look like this before stapling.

Staple the short sides
Before you do the corners start in the middle and repeat the stapling and pulling process on the two short sides of the door.

Fixing a corner
Try to pull the bulk of the lace on the corners an inch or so inside the door that way it won’t keep the door from shutting properly.
Then staple it all down.

This is what the front of the door should look like in all the corners.

Fixing a corner with a hinge
Staple around hinges keeping the lace as flat as possible.

Stapling around a hinge
Fold up and staple again. Be sure not to staple on top of staples that are covered by the lace.
The lace will be in several layers before it’s in place.

Cut off excess lace

Finishing the corner
Staple everything down. If the lace can unravel, fold it under before stapling.
It’s best to have lace that will not unravel because the lace will be less bulky inside the door.

It should look like this on the inside of the door when finished.
Inspecting the front of the door
The outside of the door should have lace that is stretched so all the wrinkles disappear and the lace sits taut against the door.

Fastening a handle using drilled holes
When you have the lace on it’s time to add the handle.
- If your handle needed drilled holes, you should have already made them.
- Try to poke the screw through the lace and through the hole from the back to the front without damaging the lace.
- Screw the screws into the handle.
- If you have a knob which bolts on the back, stick the screw through the hole from the front and bolt it in place. You may want to cut the end of the screw off if it sticks out past the bolt.
Fastening a handle without holes
- If you have a handle that can be screwed on the front. Decide where to place it.
- Move the lace so you do not screw into the material. You should place the screw in one of the lace holes.
- Drive the screws in slowly especially if you are using an electric screwdriver. If you go slow it should keep the lace from getting caught and bunched up.

Adjusting the hinges
If the door doesn’t seem to shut quite right nearly all kitchen cabinet hinges can be adjusted to allow a greater width between the door and the cupboard.
For an explanation of how to adjust hinges click below.
https://www.hintsandthings.co.uk/workshop/kitchen-doors.htm
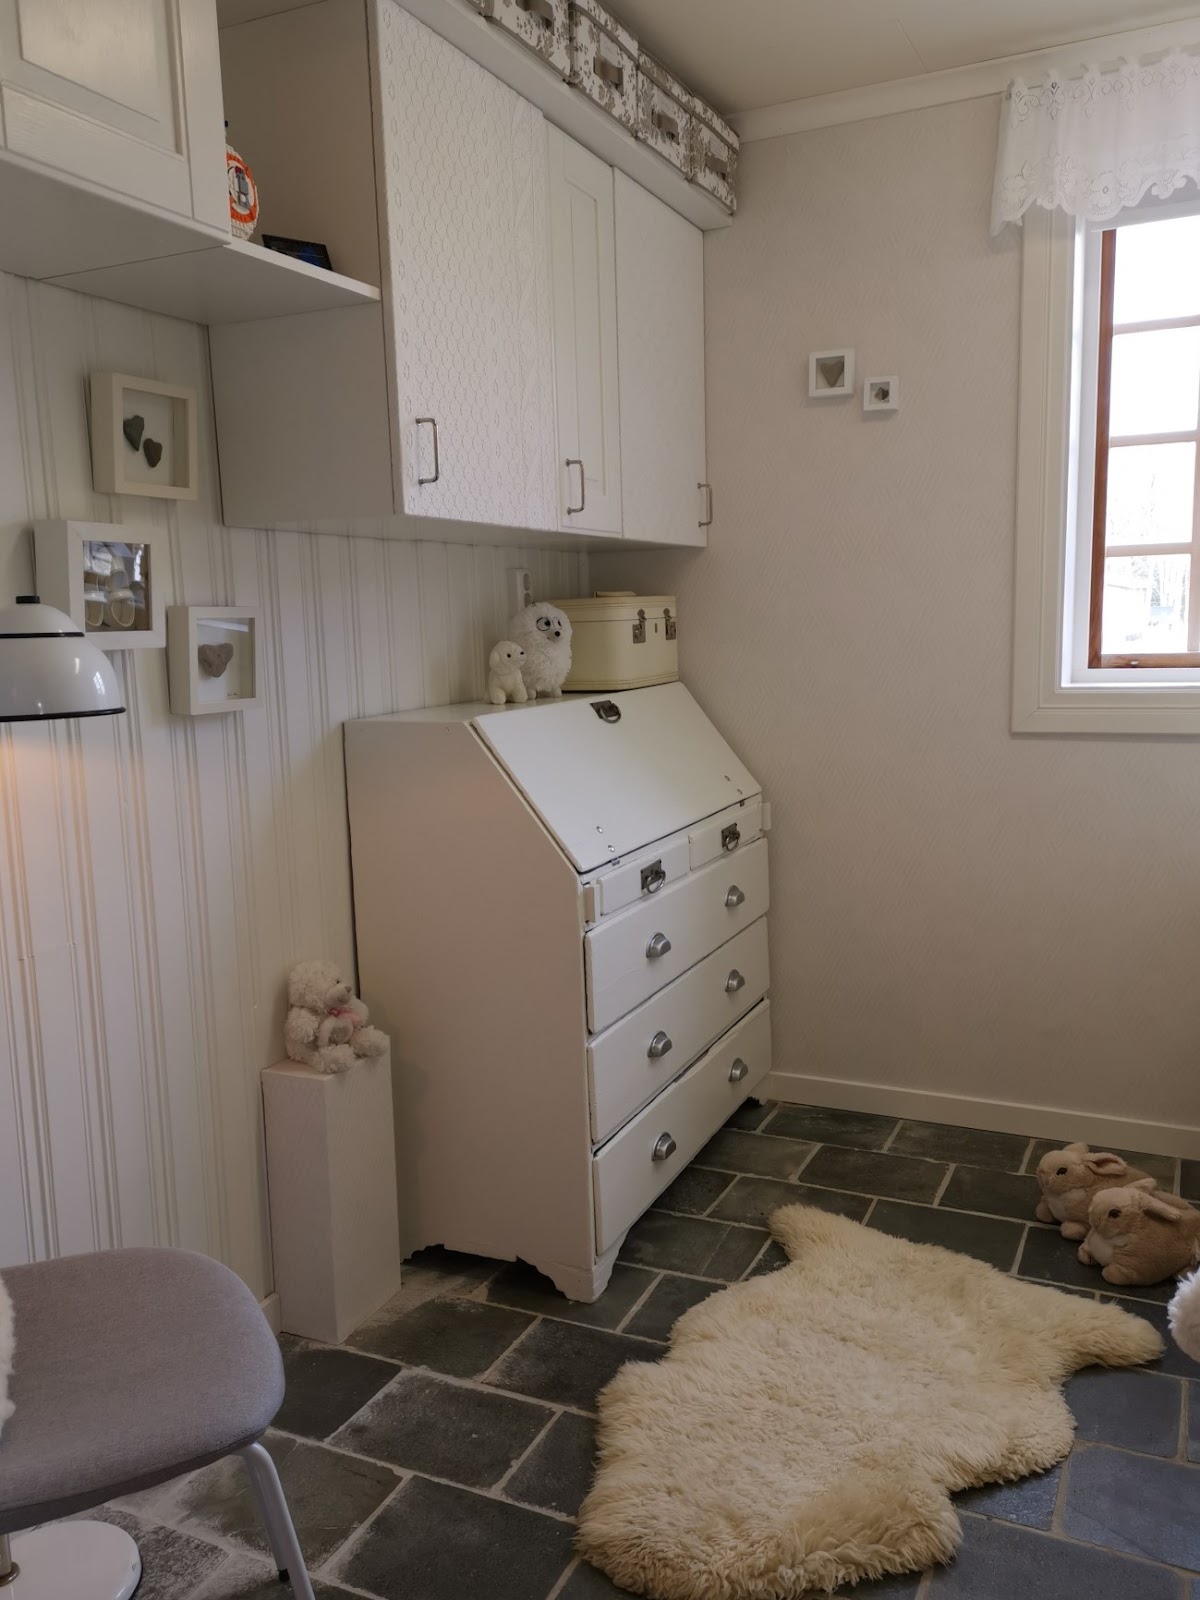
Enjoy the end result


For more DIY read about how to make a secretary desk.
https://theadhdminimalist.com/the-best-desk-for-an-adhd-child-how-to-make-your-own-a-helpful-illustrated-guide/
To read about why a monochrome bedroom is helpful for ADHD (ADD) Children, click here.
https://theadhdminimalist.com/a-monochrome-bedroom-decreased-my-daughters-stress-and-adhd/
For helpful ideas on how to keep an ADHD (ADD)child’s room organized, click below.
https://theadhdminimalist.com/help-adhd-add-kids-clean-their-rooms-and-stay-organized/
For more information and other book tips check out Our Favorite Resources page.
https://theadhdminimalist.com/our-favourite-resources/
Copyright Annie Eklöv
