Upcycling kitchen cabinets
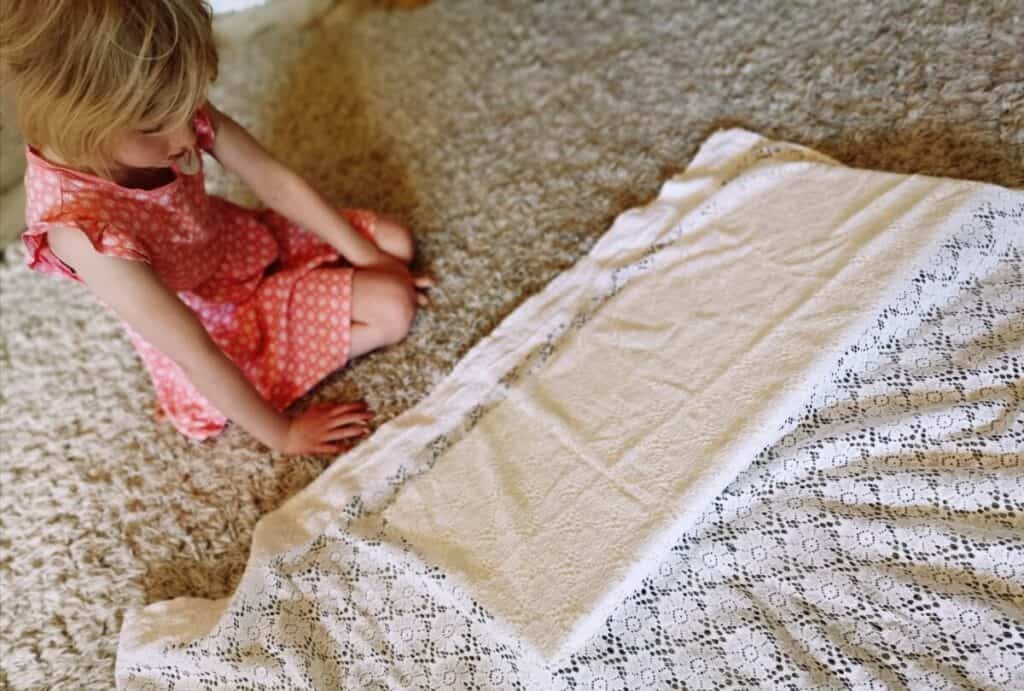
I decided to wrap two of the cabinet doors with lace to upgrade the boring standard white kitchen cabinets from Ikea.
I found lace that had bigger holes in the pattern and I was able to poke the door handle through the lace without cutting it and staple it on the inside of the doors.
Because I wanted to use as many different textures as possible I picked two different white lace patterns one for each door.
The rest of the cabinets I found in the shed had wooden doors with a shaker-inspired pattern. They already had texture, they just needed painting.
For an illustrated guide on how to cover doors with lace click below. https://theadhdminimalist.com/diy-kitchen-cupboards-with-lace-as-in-my-daughters-bedroom/
Upcycling an old piano
The next project was to use the front panel salvaged from an old piano as a picture.
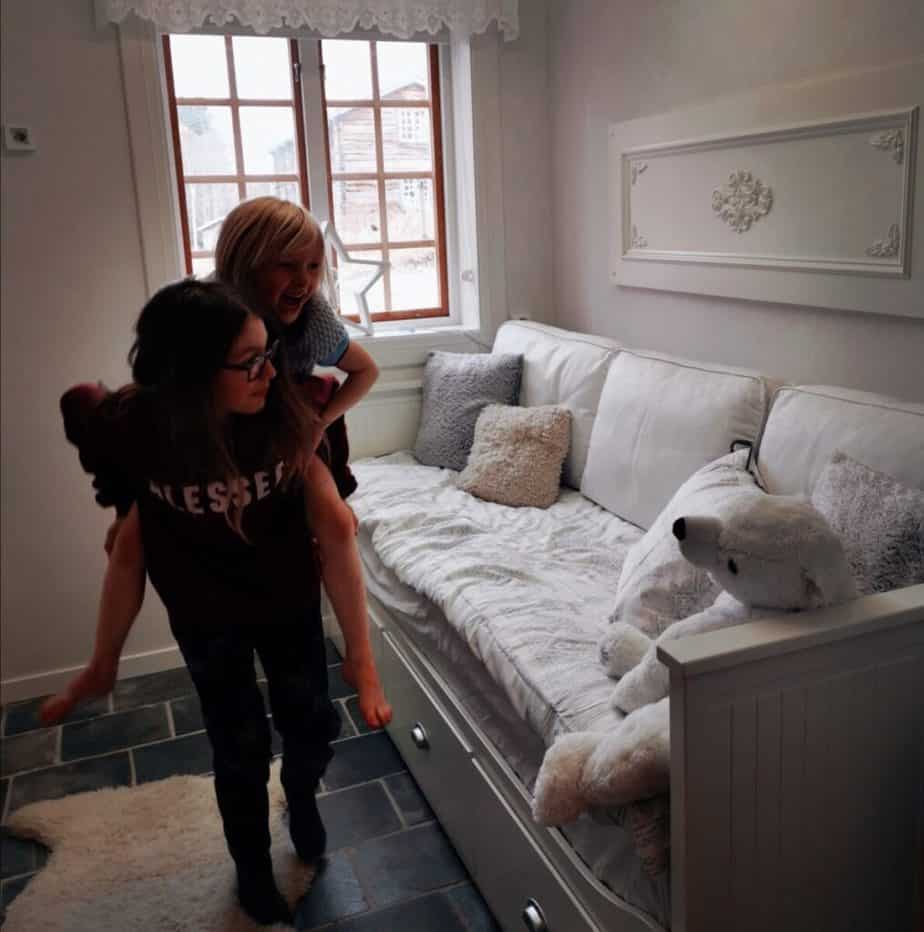
The old piano didn’t have any of the fun wooden decorations on it that you usually see on old pianos so I decided to order decorative wooden pieces that I could glue on.
I picked one big decoration for the middle and smaller decorations for the corners. There were 100s of wooden items to choose from. You could buy wooden decorations for nearly any style.
We measured where each piece should be so they were all the same distance from each other, marked the spot with a pencil, and glued them down.
We had to put weights on the decorations to make sure that all parts had contact with the wooden panel. Wood has a life of its own and isn’t always completely flat.
When the glue was dry we painted the panel which was originally black and decorations in the same shade of white.
Making shadow boxes
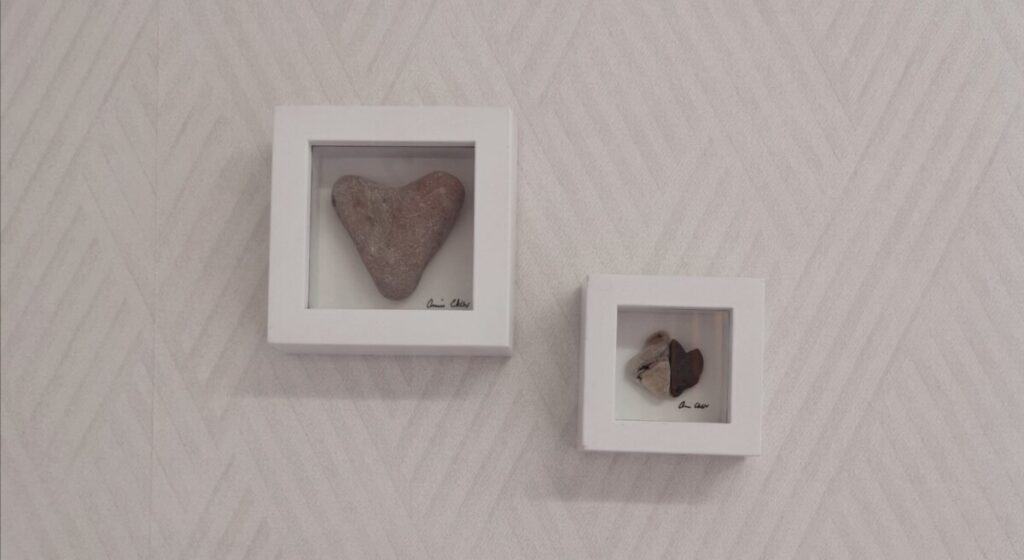
Whenever we went to the beach I would look for heart-shaped rocks. When I had quite a few laying around I began making pictures out of them.
A couple of white shadow boxes from the craft store made great frames. I glued the pale gray rocks on a white mat with heavy-duty glue from the hardware store.
I bought a sheet of mat that was not yet cut from a hobby store to use as the back of the picture. I cut it to the right size to fit in the frame and glued the rock on it.
I had fun arranging the rocks in the frames. Some frames had only one rock, others had several.
I grouped these rock pictures together with the shadow box of my daughter’s first baby shoes and hung them on the walls.
These shadow boxes added interest to the room. With their white backgrounds and white frames and white or pale grey content, they added layers to the room without adding much color.
You can use shadow boxes to display baby clothes your child wore on the way home from the hospital or like we did display his/her first shoes.
Kids, especially girls, like to look at baby clothes, but even my son wanted to have his baby blanket in his room for a couple of years after I dug it out of the storage room to show it to him.
Maria thinks it’s fun to have her first baby shoes in her room. They are so small they usually get a reaction from her friends.
Even her sister Frida was born too big to wear Maria’s baby shoes.
DIY a Hammock for your bedroom
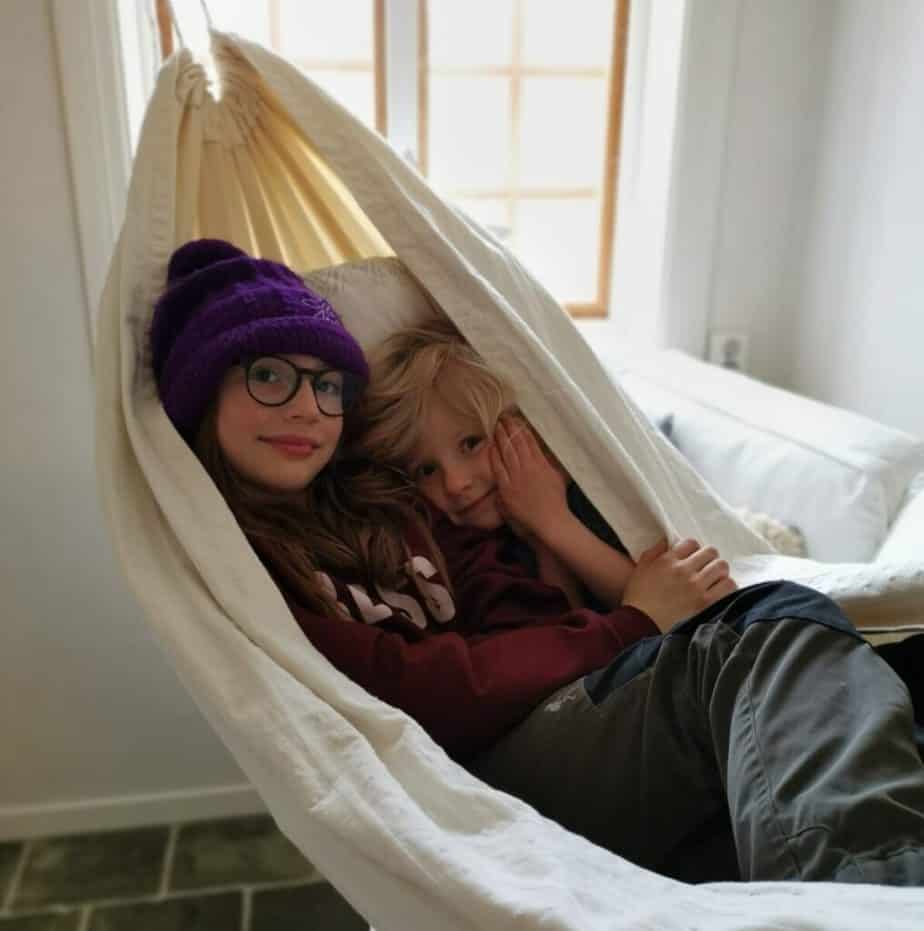
My daughter wanted a hammock in her room, and I had trouble finding one that was the right size and white.
I ended up sewing a hammock myself.
- I cut two thick pieces of material into rectangles 2 meters by 1.3 meters.
- Pin the edges together.
- Sew the two sturdy pieces of material together on all sides.
- fold the short ends around a rope forming a tube and sew it down.
- Make sure you sew several different seams where the material holds the most weight. This makes the seam stronger and keeps it from breaking.
- Make a knot at the ends of the rope.
- Hang the hammock up. Use the correct hooks to avoid a crash.
Adding details to your bedroom
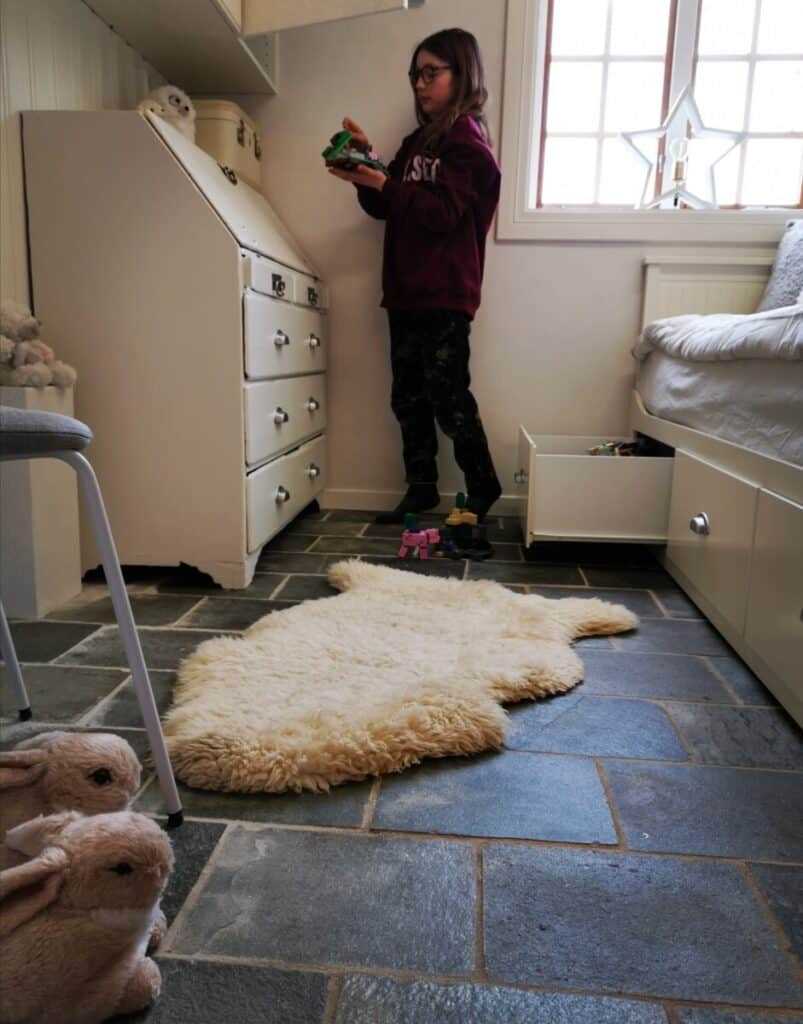
I decided not to paint the chrome handles on the Ikea cabinets white. This did not seem practical because the paint would probably peel off.
I did not want to buy new ones because the ones we had looked really good and we were decorating on a budget.
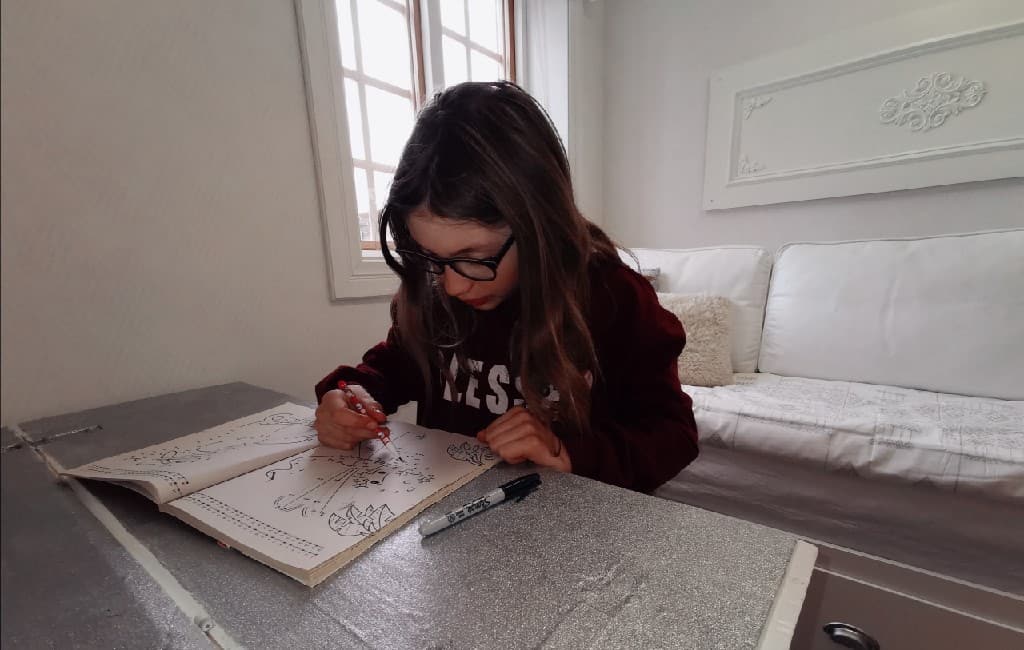
The door handles inspired me to buy silver glitter paint and paint the inside of her secretary desk with silver glitter.
The room is very monochrome when the desk is shut. When you open the desk it looks like the inside is grey or silver. It’s not until you get really close that you notice its glitter. I guess this was my way of putting my stamp on her otherwise all-white room.
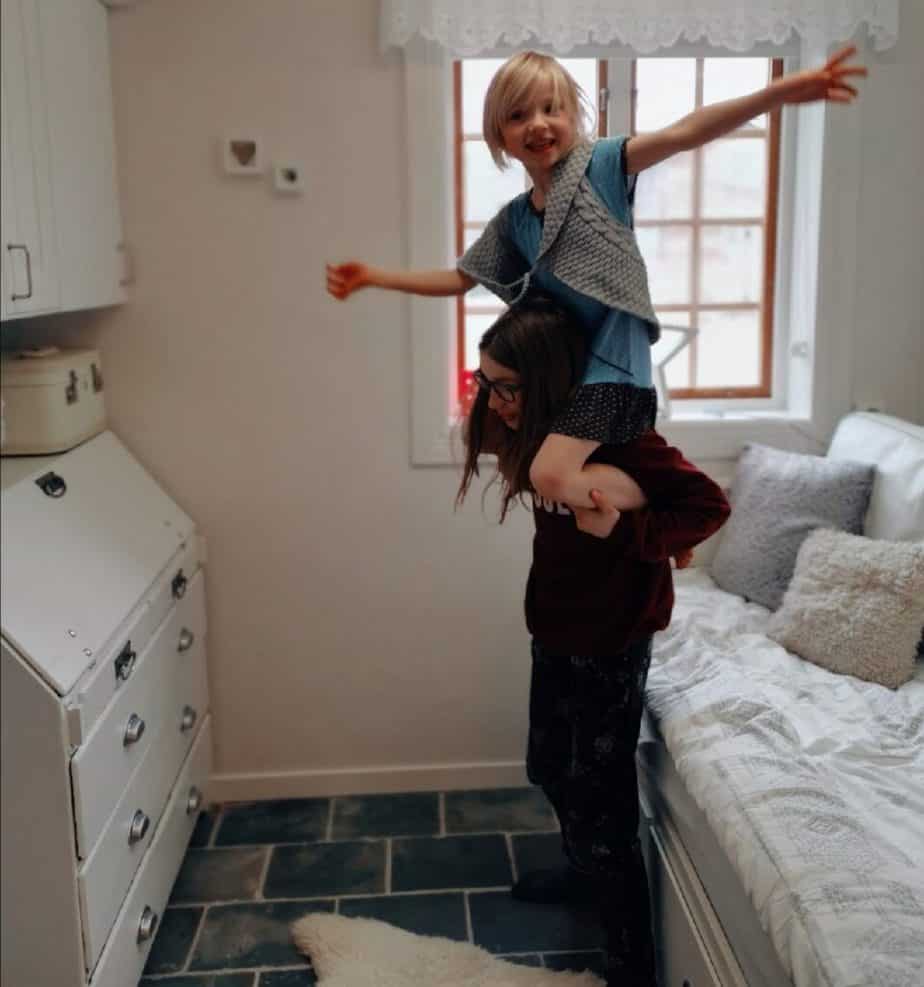
I decided to hang one black and white photo of Maria and her sister Frida to contrast all the white or light grey pictures. The room may not be considered 100% monochrome like Noth’s room, but the difference a coat of new white paint makes is still incredible!
The once claustrophobic room now feels spacious and airy.
If you want a complete monochrome room you can buy white door handles, a white chair, and a white lamp or paint something that you already have.
I hope you found some inspiration for your redecorating projects.
If you need a quick fix for your child’s room and don’t have time to completely redecorate click below for all the help you need to declutter and reorganize your child’s room. https://theadhdminimalist.com/help-adhd-add-kids-clean-their-rooms-and-stay-organized/
For more information and more book tips check out our page Our Favorite Resources. https://theadhdminimalist.com/our-favourite-resources/
copyright Annie Eklöv

