How to consolidate school papers, pictures, and art projects.
This is a two-step process.
Step 1. Take care of papers that already exist in your child’s room
Step 2. Make a ‘Binder System’ for catching papers and projects as soon as they enter your home!
Are you or your child having a hard time tossing schoolwork and art projects? Create a binder with your child’s papers or take pictures of the best ones and make a photo book. A phone app makes it easy; no need to cut paste or download photos to a computer. Chatbooks, Photobox, and Fujifilm are all great apps/sights.
Scrapbooks are space savers, they give odds and ends a home, and your child can easily access pictures and memorabilia.
I promise making a scrapbook is simpler than it sounds, and kids enjoy a book much more than loose paper.
Getting Permanently Organized with Binders!
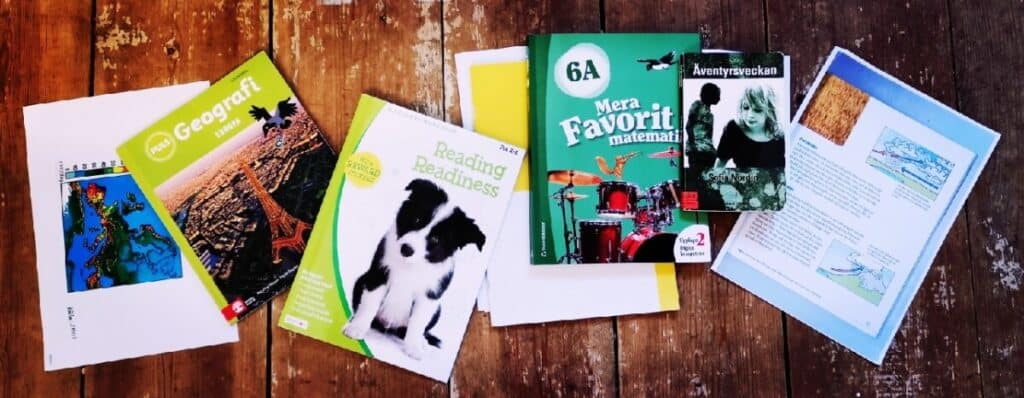
This is my favorite way to organize all my kids’ papers, pictures, projects, assignments, and all odds and ends that are paper.
A fast, budget-friendly version of a printed scrapbook is a binder with page protectors. It’s not only cheaper but also more convenient when filing loose papers.
Write your child’s name and date on a binder and put schoolwork, pictures, cards, and art projects in plastic page protectors.
The trick is to immediately file papers as soon as your child brings them home from school.

Art and school assignments will automatically be in chronological order if you consistently put items in the binder as they cross your threshold.
Annie Eklöv
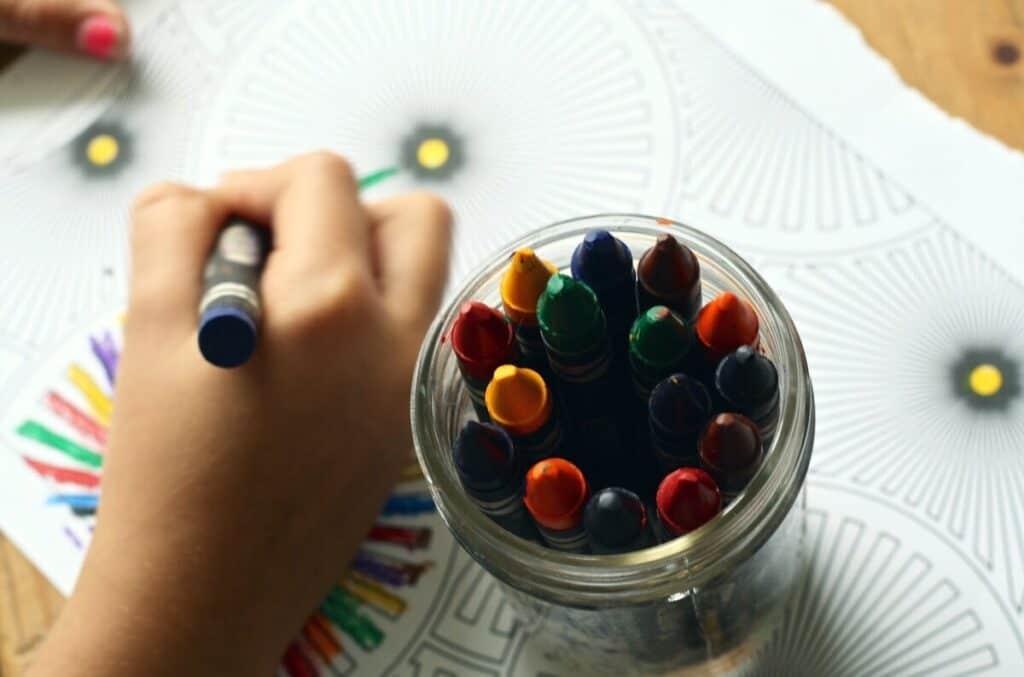
Cutting, pasting, and being creative are not required. Scissors are only necessary if something doesn’t fit.
Once you’ve established a binder with your child’s name on it put the first stack of papers from school in the binder yourself. Weed out as much as possible!!!
Only keep the A+ assignments, the most amazing art projects, and the best essays!
You must declutter the papers that come through your door! If you don’t you’ll fill up binders so fast that you won’t have shelf space for them all!
When my kids come home from school with assignments and art, usually they bring me around 10 papers. I go through them at once. If it’s mostly art I’ll keep more papers if it’s mostly assignments I may only keep one.
When my daughter brought home a stack of papers 3 inches high at the end of school I went through it systematically and kept only the best which was about 15 papers. The rest I tossed.
My kids know I only keep the best. They’ve seen me weed out the duplicates, poor assignments, and unfinished art. They now pick out the best themselves and put it in their books.
Teaching your child what to keep is simple.
Annie Eklöv
Tell them to only keep the stuff they’ll be proud of in 10 years.

Filing Paper Clutter Already in Your Child’s Room
You’ll need a separate binder to catch the papers and pictures you find in your child’s room. Do your best to guess the date of the items.
I bought a binder for my daughter when we cleaned out her room and ended up writing a three-year span on the spine. These dates were as precise as possible in retrospect. The items in that book are not in chronological order, and I didn’t try to put them in order.
Don’t expect this ‘Catch-call’ binder to be perfect. Its purpose is to be practical.
Most grown children toss school assignments when they receive chaotic boxes full of loose papers. If you take the time to put the best pieces in a book, they just might keep it.
I made this video to explain how we make our binders. Enjoy!
Scrapbooking the Digital Way Pros and Cons
Printing a scrapbook digitally has its pros and cons. It’s the perfect way to scrapbook 3D projects, abstract art, or macaroni necklaces that your children bring home from school.
Take pictures of everything, put them in the scrapbook, and order your book. It’s a great way to get pictures off your phone in a neatly organized fashion.
In the USA, many kids do preschool art with uncooked pasta. Friends of mine found 20-year-old bug-infested pasta projects in their parent’s basement! Yuck! Take pictures of 3D art projects (while they still look presentable)!
Annie Eklöv
Some things you can’t keep forever.
On the other hand, making digital scrapbooks is not so great for physical papers.
Assignments your child got an A+ on, art from the school art show, or the essay your kid won a prize for, are all physical papers, and in order to get them into a scrapbook that you create online you’ll need to take pictures of every page. That’s when a binder comes in handy.
Copyright Annie Eklöv

